How to Build a Batch in 12 Easy Steps
Share
A peek behind the cardboard curtain, to see what we do and how we do it (please don't tell anyone).
Here's the step-by-step guide of how to build a Batch box, complete with insider information. Hopefully, this will shed some insight on how we make memorable gift-giving look easy.
1. Collect Your Products

You know who seems to love tea? The British. In this hypothetical gift pack we're going to be sending Parliament a Time For Tea Gift Batch. This is NOT just a subtle way to flex and say that we can ship internationally (even though we totally can). We start by collecting our products, which are:
- Willa's Shortbread Cookies - Wildflower Honey
- Trubee Honey Sticks
- Piper and Leaf Muslin Sachet - Healing Honeysuckle
2. Choose the right box.

We want to choose a box that will adequately fit our products, while giving just enough room to preserve the presentation. Don't forget to make sure the products aren't too tall for the box! After a while, you get good at visualizing the boxes in your mind.
3. Stamp your box

Placed at the bottom right corner of the box, apply just the right amount of pressure for a nice, even stamp. The classic Batch stamp always looks nice, but don't forget, we can also have YOUR company's logo on instead. You can contact us about it here.
4. Fold your box
You should see how fast Jean can do it.
5. Add the tissue paper

Here's where it gets complicated. Sometimes it takes TWO sheets of tissue paper. Sometimes it takes just one. It all depends on the size of the box. For this batch, it only takes one, so we place it centered in the box, facing right side up. That way, when you fold the paper, the "Batch" logo doesn't require any handstands to read.

6. Add your deepest products

For some products, adding crinkle underneath will make them too tall for the batch. So, we add certain items to the bottom before sprinkling in the kraft (or any other color) of crinkle. Willa's Shortbread is a classic "bottom of the box" product.
7. Cushion it with crinkle


We have to make sure we add just enough crinkle to cushion the contents of the box, and to prop up the remaining products. That way the Willa's makes it safe across the Atlantic.
7. Add remaining products

Gorgeous. It's all about aesthetics here at Batch.
8. Add final layer of crinkle

We like to add enough to cover the products, but not so much as to make the lid buckle out (if possible). You'll end up getting a few stragglers peaking out of the side if you have too much.
9. Add your handwritten gift note

We can custom handwrite your gift note (with penmanship that beats this one). Sometimes we'll even throw in a little drawing if we're feeling creative. You can also get your company's message printed and individually personalized on one of our inserts. We've done our fair share of collating, so we always make sure that Anne gets the "Dear Anne" note and everyone is happy.

11. Seal the Tissue Paper with Batch sticker

12. Admire the work you've done, and determine whether you'd like to add gift wrap.

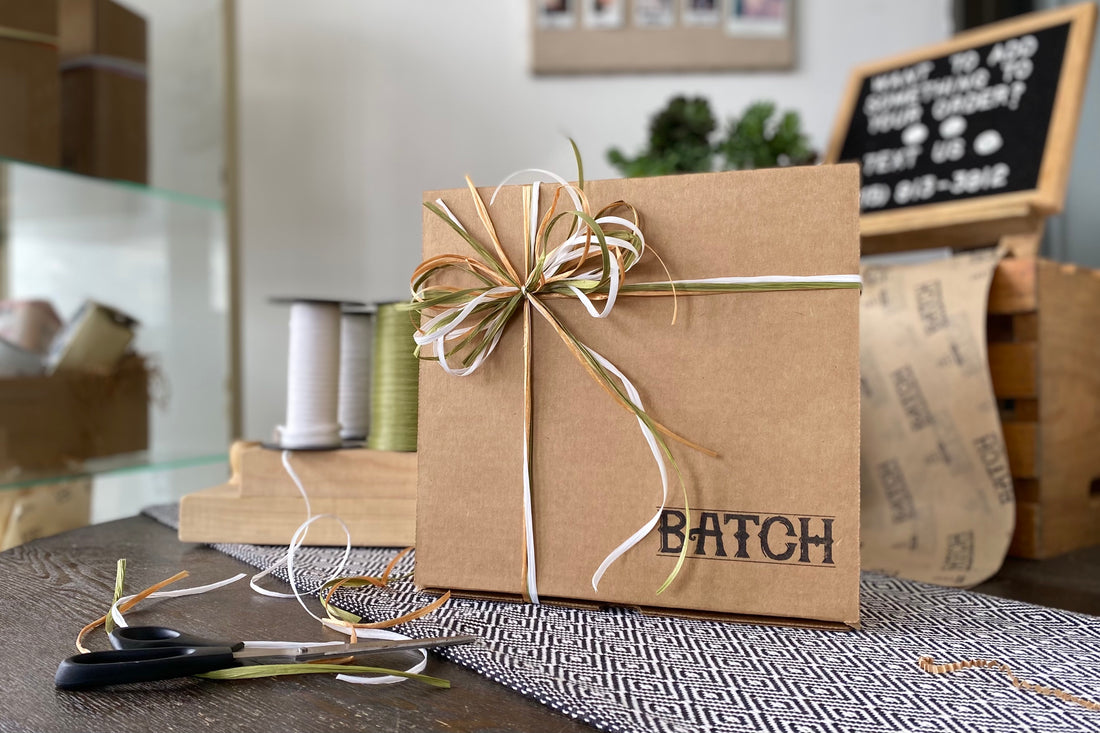
What a beautiful Batch! The only thing that would make it MORE beautiful? Some tri-color gift wrap. We'll take it from here. Click on the video below to see us wrap a Batch box in less than seven seconds. It's totally not a time lapse.
And voila! Here we have our finished Batch box, ready to deliver joy across the country, and beyond (again, we ship internationally!). The United Kingdom is going to love it. It'll be the greatest tea party since that one in Boston. How did that turn out again?


